
Schedule Mail in Gmail has many advantages. For Instance, let’s say you have a very important email to send to someone and you know he always checks his email first thing every morning at 5 am. In this case, if you need to make your email on the top of her inbox, you could get up early in the morning to send the email. Mostly it is difficult. So, the best thing is to schedule your email to send it automatically at 4:50 am. Pretty cool right?
Here’s how you can schedule an email in Gmail easily and the better part is that you don’t need any additional applications or third-part extensions to make this possible.
This works for both Desktop & Mobile phones.
How to Schedule Email in Gmail
Previously, to schedule an email, you have to install some third-party extensions like Boomerang for Gmail, etc. But now thanks to Google, Gmail has introduced a very useful in-built schedule feature that lets you schedule your emails to automatically send to anytime in the future.
Now, let us start with the steps.
Also Read :- How to Schedule WhatsApp Messages – Android & iPhone
Step 1: Compose an Email.
Open Gmail and click on the Compose icon on the top left corner to write a new email.

Enter the recipient email address, write the subject of the mail and the content.
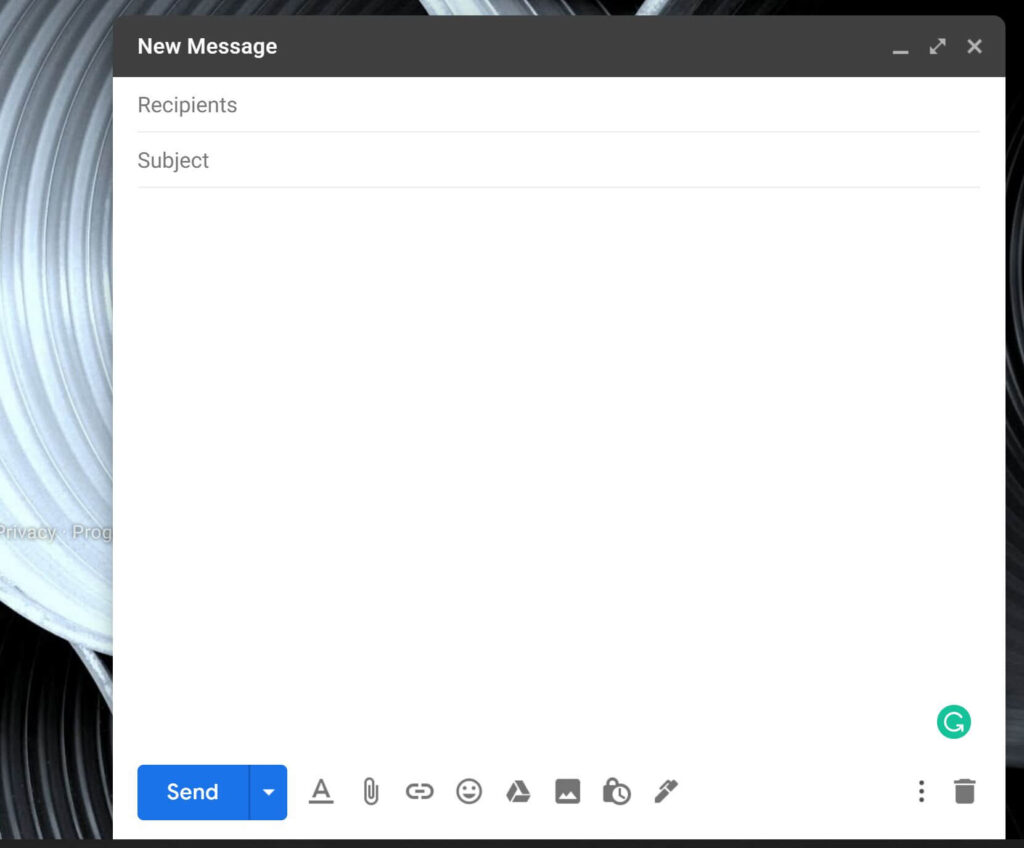
You can also schedule a reply to an existing email using this method.
Step 2: Schedule mail
Once the email is composed, click on the arrow button next to the blue send button and select Schedule Send.
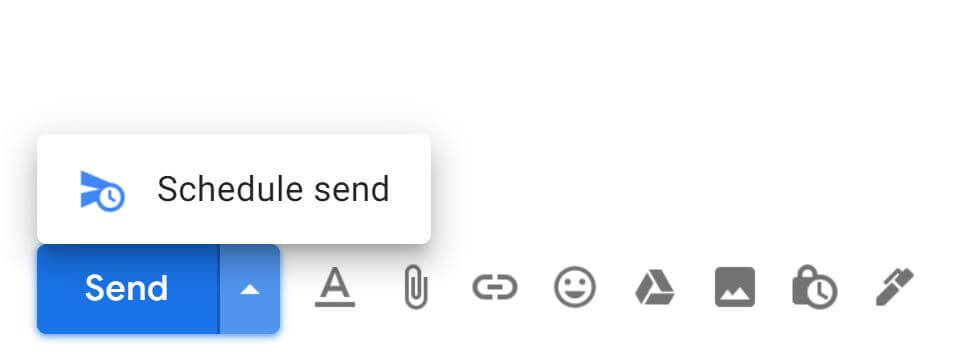
Now gmail shows you a popup to let you choose a date and time to send the email.
Click on Pick Date & Time and tap on Schedule Send. Finished!!
How to Cancel a Scheduled Email in Gmail
At some point when you need to Cancel or Edit an email which is already scheduled the sending process, follow these steps.
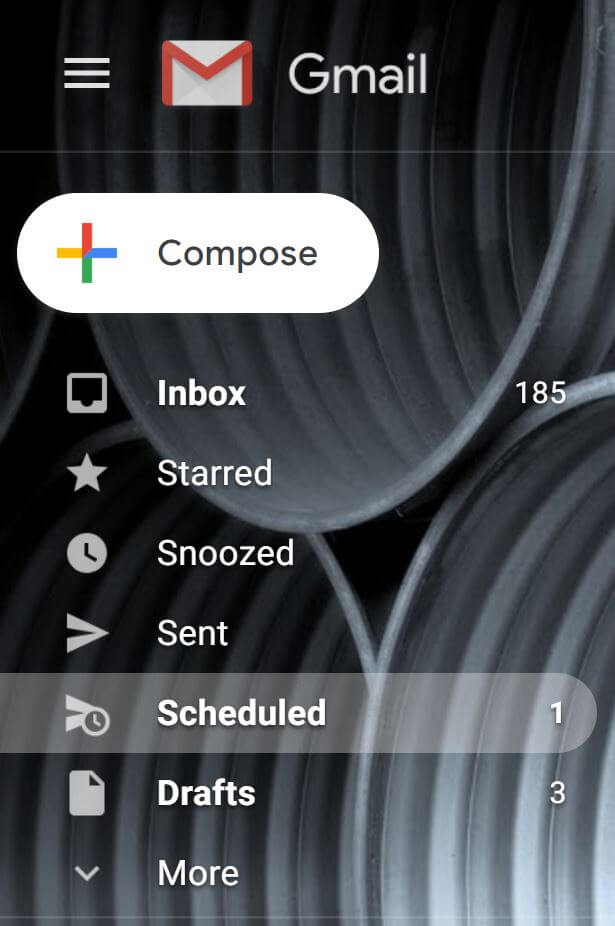
Step 1: Open Scheduled Label
All the emails you have scheduled for later will be stored in the Scheduled label in the Gmail sidebar. So, tap on it.
Open that particular scheduled email, click on Cancel Send.

Step 2: Edit the Scheduled mail
Once you clicked on the Cancel Send button, Gmail automatically opens that email for further editing.
When the editing is done, simply follow “How to Schedule Email in Gmail” steps given above.
How to Schedule Email in Gmail on Mobile Phone
Likewise, when you need to schedule the email on your smartphone, follow these easy steps.
- Open Gmail app
- Compose the mail
- Click on the three dots menu on the top right corner
- Tap on Schedule Email
- Pick the date & time
- Click “Scheduled send”
All set. I hope you understood everything about “How to Schedule mail in Gmail”.
Closing Words
In conclusion, in the past, people were using some third party extensions to schedule mail in Gmail. Extensions like these are not built by Gmail itself. So, we can’t fully say its trustworthy. The method I explained here is the in-built Gmail feature. So, no need to worry about security. If you want to read more interesting tips like this, simply visit our homepage.


0 Comments
Trackbacks/Pingbacks